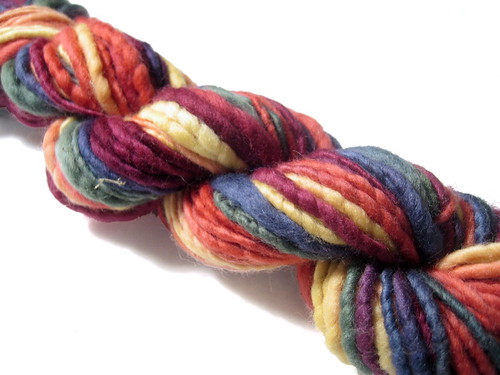
Awesome Product Photos—Light Boxes
Many people have asked how I take awesome photos. Some think I have amazing photo equipment and a high-end camera. But nothing could be further from the truth.
Let you tell me my dirty secret: PhotoShop, a Cannon PowerShot 410, and a $15 mini-tripod (or sometimes a stack of books). Oh, and a 5 year-old iBook.
So yes, the quality of my photos rely that much on PhotoShop, as well as my tripod. To get the background so bright and white, I need to start out with decent pictures and a lot of time and patience. My method is time-consuming and definitely not fool-proof—something that I really found out this week when one of the lights in my kitchen went out.
With the loss of that one tiny light bulb, I went from bright and crisp photos to dull and over-exposed looking atrocities by using my same PhotoShop methods. My biggest problem is I live in Seattle. And it's October—the beginning of our "second season." My apartment doesn't have this thing called "natural light" that most other parts of the country experience. I open the blinds in the morning, and my living room looks exactly like it did before I opened them. The only difference is that I can suddenly see the over-cast skies and rain-soaked porch.
Having crap photos and trying to sell what I create online just doesn't work. So my response? It's time to make a cheap light box for taking product photos.
The following three links are tutorials on making a light box. Read them, learn from them, use them. And then invest in cheap consumer-end photo-editing software, or download the open-source and free The GIMP. Save your extra craft pennies and don't bother buying PhotoShop. With a light box in hand, you won't need it.
Light Box Tutorials:

